eBA User Interface
The eBA Web Interface is a web-based, browser-independent interface that allows end users to follow the Work Processes created using the eBA Workflow system and the documents created using the Document Management System. Users can access the document through any work processes that comes to their approval using this interface, create a new Business Process etc. .

Users should go to http: //eBAServerName/eba.net
from any browser to access the eBA web interface. The eBAServerName parameter
is the IP address of the server where the eBA system is installed.
After reaching the web interface, "User Name" and "Password" information must be entered in order to enter the system. The information may vary according to the system configuration. By default, the username and password in the eBA system can be used, as well as the username-password information defined in the Active Directory system. All this information can be defined by the system administrator during installation. How this information is defined will be explained in detail in later topics. In addition, the user can select the language to use when entering the system. By default, the system can work in "Turkish, English". However, it can be added to the system in new languages. Information on how to add new languages to the system will be explained in detail in the future.
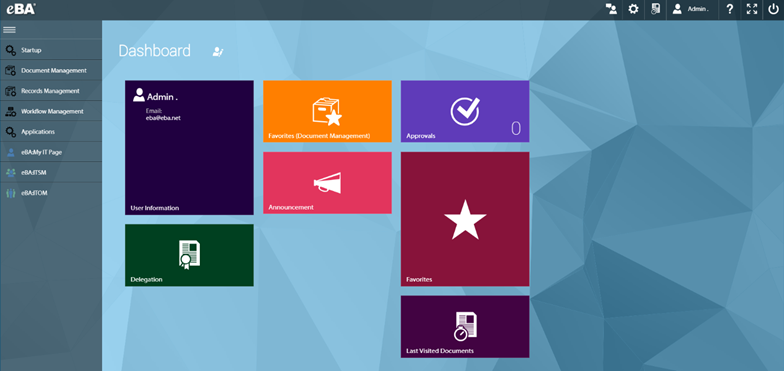 |
When the user enters the system after typing the username and password, the "Login" screen will be displayed. This is the screen where the summary information is located. The user can change what information is displayed on this screen.
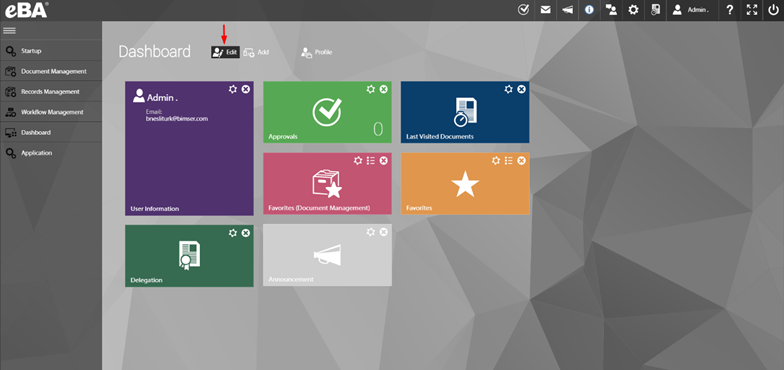
The color, size and location of the information boxes displayed on this screen can be changed. In addition, the user can create more than one login screen profile. This can be done using the "Profile" button on the same screen.
DELEGATIONS
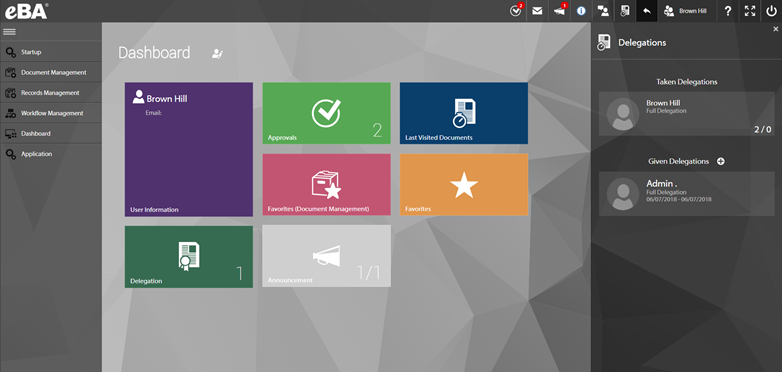
In this page, there is also information about if there is a delegation given to the user. It shows the number of processes waiting on the approval of the delegation owners.

For more details and reach waiting approvals user can click on delegation owner’s name. User can click delegation button on the top panel to reach delegation information. User can cancel a delegation and create a new one.
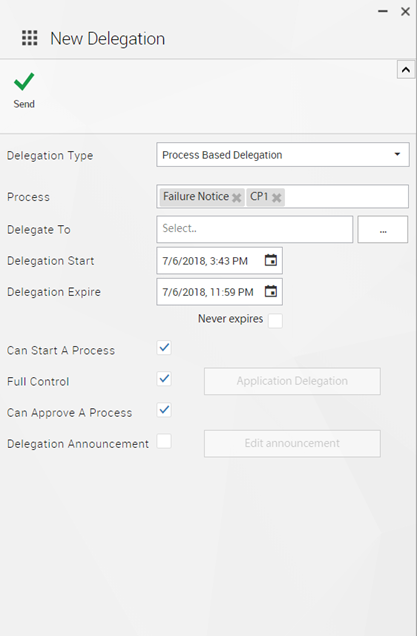
New Delegation:
There are three types of delegation on system.

Full Delegation:
It means that all the authority that the full proxy user possesses is transferred to another user. When a delegation is given using this type, the authority of the user who gives delegation is transferred to the user who takes delegation (starting work process, reaching the document management system, approvals, notifications etc.).

Process Based Delegation:
When process-based delegation is selected, unlike Full Authority, the user is asked to enter the information for which process the delegation will be defined. This list includes all the workflow processes defined in the system.
Position Based Delegation:
This type of delegation allows users to share approvals and notifications with other users according to the roles they have.

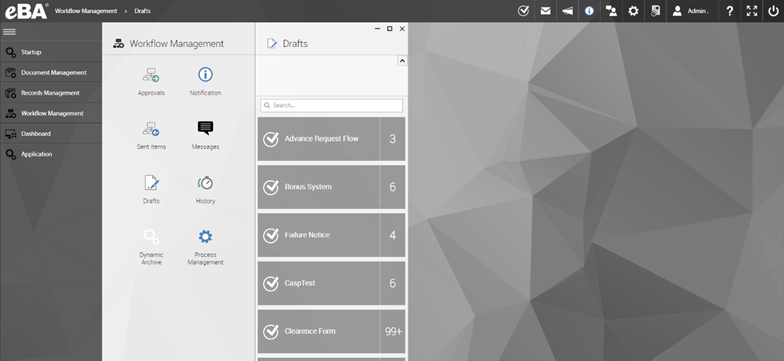
Workflow Management
The Workflow Management menu is a menu that lists jobs that have been submitted by the user using the Workflow Management system.
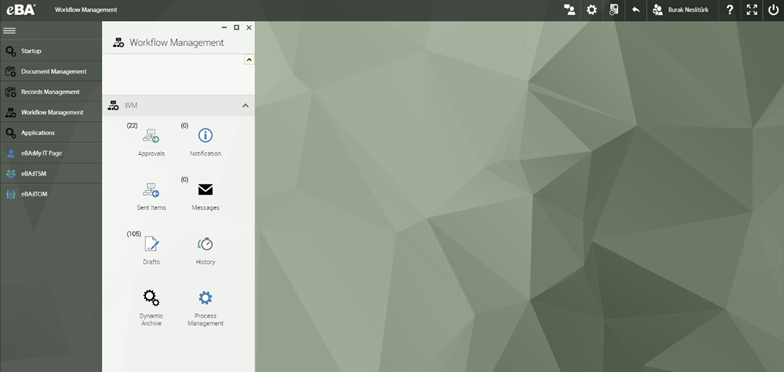
How many processes are waiting for user approval will be written next to the "Approvals" submenu. If there is no pending approval, he will not write anything next to it. The same situation exists in the other submenus.
Approvals: When the approvals are clicked on the menu element, the user reaches a list of the work processes waiting for the user to perform an action. The user can confirm, reject, etc. using this list. By performing the actions, it ensures that the business processes take the next step. The following section applies to all submenus under Workflow Management.
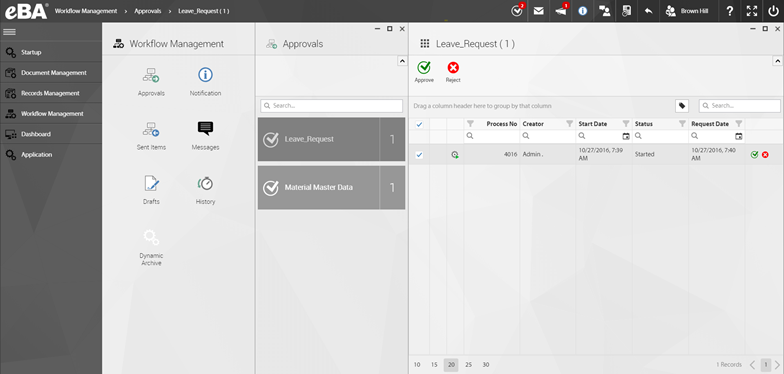
The approvals menu list the processes that are waiting for the user to perform an action. The user can perform the action using this summary information without entering the details of the process. This mechanism is called "Fast Approve". The system administrator can make active or passive Fast Approve proccess-based. The user can click on the list to see the details of the process.
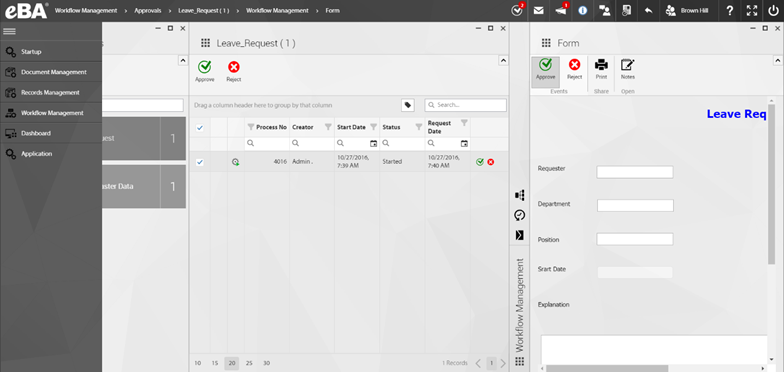
When the process details are reached, you can perform the related action by using the action buttons on the top. You can also access the "Flow History" where the process details are located using the button on the left panel. In this way, information can be observed about who approved the process.

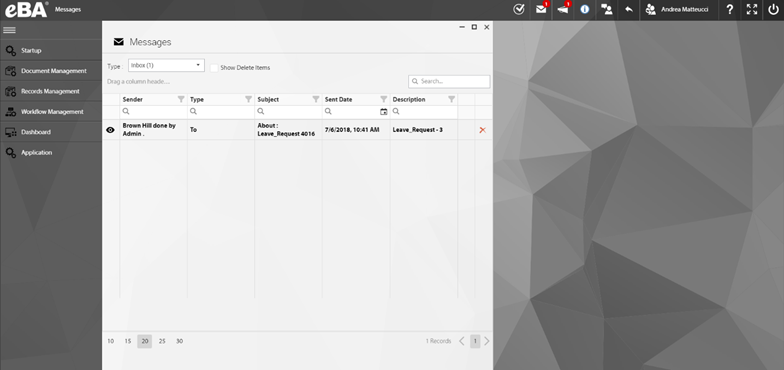
If there is a comment about the process using the "Messages" tab for any process that is waiting for user approval on this screen, you can add comment to the system, or ask for comments from another user.

"Messages" function is similar to the standard e-mail sending process. The desired user or users are can be selected from combobox. User can also infrom other users and attach a file.

After click Send Message button, this message can be followed by all users included in the process. Users also recieve a mail about this comment.

While all the messages are being sent to the user via e-mail, the user can also be followed from the list when the user clicks on the "Workflow Management" menu in the web interface.
Notifications:
In the notifications submenu workflow processes are read-only and the user only has the right to view the relevant process and documents. User can not do anything about the process. The user can follow the incoming processes from this list, as well as remove the processes that he/she wants to leave behind.
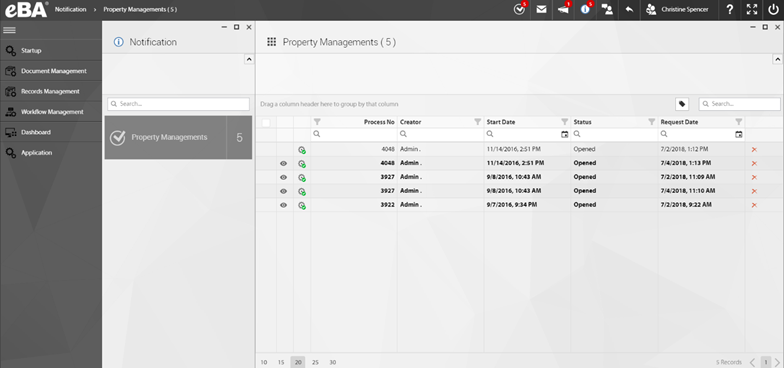
The user can use the "History" submenu to access the deleted processes form the Notificatons menu.
Sent Items:
In the Sent Items submenu, workflow processes that the user initiated are listed. The user can follow the status of the workflow processes that he / she initiated using this list.

On the sent items menu, the workflow processes in the last week are listed by default. User can check History submenu for older processes.
Drafts:
Forms that the user has not yet submitted are listed on the Drafts menu. The user can access drafts from here; edit, send or cancel processes.
Document Management
The Document Management menu is a system that contains "libraries, folders, and documents" that a user can access within the Document Management System. This menu may vary depending on the user's authority and the license user owns.

With Document Management, user can access existing libraries and documents or create new ones.
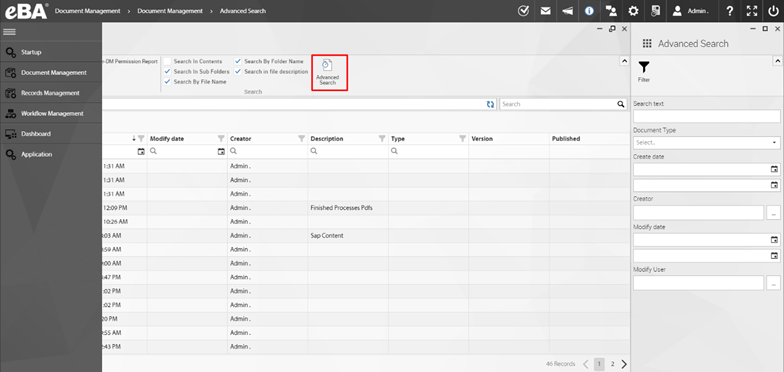
Search
With the help of search engine, the user can easily access the documents within his / her authority by searching for a word in a document. In order for the search results to be effectively displayed to the user, it is necessary that the "eBA DM Index Server" service is running and indexing is done on the specified document types. Detailed information on this issue will be given later.
For a quick seach it is enough to type what user looking for in the "Search" text box. Or user can use detailed search by using other fields.
Libraries:
The eBA Document Management System is composed of various libraries. Users have access to the contents of these libraries within their authority.

The system comes with two libraries in the installation. These libraries are;
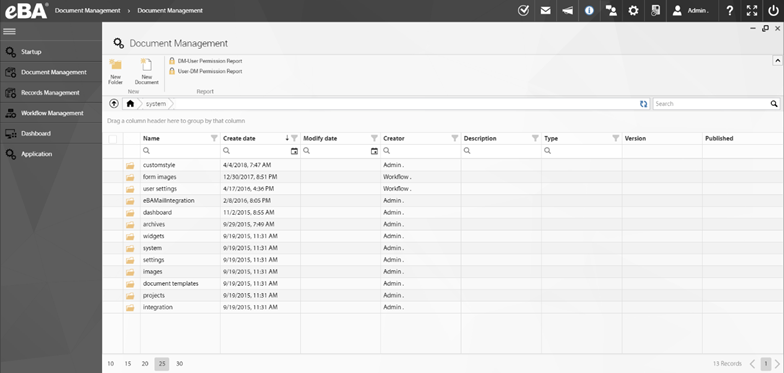
system : The "system" library is the library where various configuration information of the eBA Workflow and Document Management system is stored. Access to this library is only available to users with the "Admin" role. Some of the configuration information in the system and projects prepared using eBA Workflow Studio are included in the folders in this library.
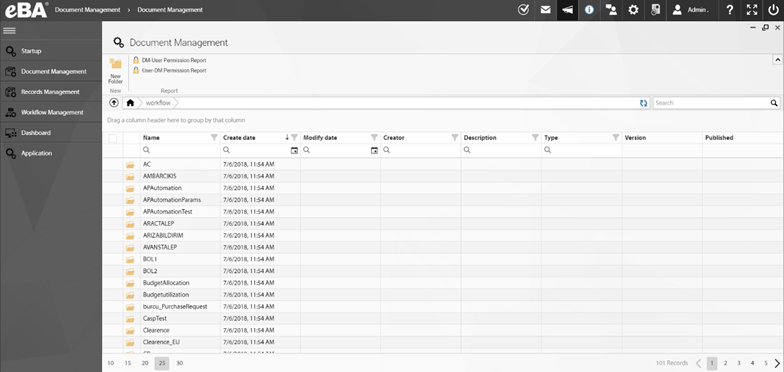
workflow : The documents created in the eBA workflow system are kept in the "workflow" library by default. All dynamic forms created in the Workflow Management system with the extension "wfd - workflow document-" are included in this library and belong to users who have the "Admin" role, which is the default authority for accessing this library, just as it is in the system library.
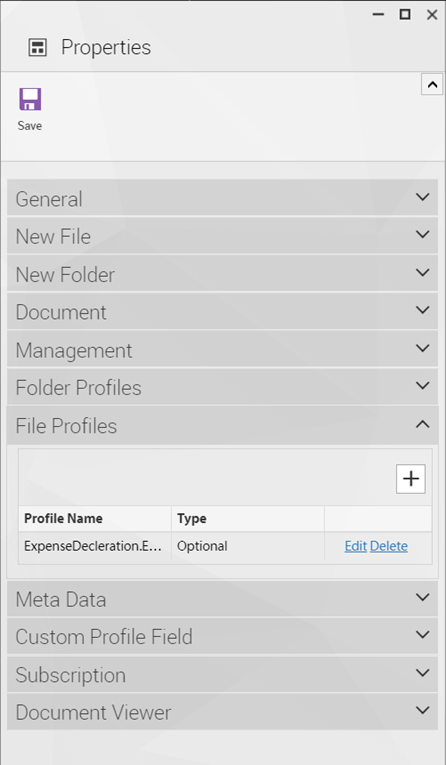
To see the properties of a folder, select the folder and press the properties button above the folders.

General Tab: There is summary information of the folder on the General tab. Name, position, who created it etc.

New File Tab: From this tab, this folder will be set to which features it will have when a new file is added. For example, if a profile is selected, a profile must be filled in when a file is added.

New Folder Tab: From this tab, this folder is set to have what features it will have when a new subfolder is added.

Document Tab: In this tab, the properties of the documents under this folder are set.
 |
Management Tab: From this tab, properties of this folder are set. You can set properties such as whether the folder is read-only, open to add documents and folders, whether to keep the folder history.

Folder Profiles: If the subfolders of this folder will have more than one profile, which profiles will have that profile will be set. Whether these profiles are mandatory or not is also set here.

File Profiles: If this folder has more than one profile subfolders, which profiles will have this tab. Whether these added profiles are mandatory or not is optional.